


Most of us love to catch up on an interiors magazine or see what our favourite home renovation blogger is up to. But all you can think is, “Who has the time?” Being a working mum, I really struggle to make time for updating my home decor. After all the school trips, cooking, cleaning as well as working, I can’t commit myself to a huge home project.
Having said that, now and then again I could find at least one day or part of a day where I can reset my DIY skills. I’m sure it’s the same for most of you as well. That’s why I have created this list of 5 do-able DIY tasks you can do in a day! That’s right – just one day! From creating your own “shelfie” to making a much-needed coffee station, these are just a few small mini makeovers that can give your home a little bit of a freshen up!
1. Style a shelf

That’s right. You can easily style a shelf in one day. These popular “shelfies” – perfect for having a selfie in front of – are an easy way to create a stylish feature in your home without having to make too much of an effort.
Wherever you have a spare blank wall needing a bit of TLC, make a statement shelf! From round framed shelves, simple floating ones, ladders shelves and more, there are so many ways to approach the shelfie. Or maybe you already have a shelf on the wall but it is in need of restyling?
Just follow any of these ideas to style your shelf:
- Back the shelf with beautiful lining paper: Use a removable wallpaper or even lovely wrapping paper to back your shelf. Choose a pattern or colour that will marry up with the room’s current style.
- Gather items you already have: There’s no need to spend. Simply find those much-loved items you already have at home. A cute succulent plant, a candle, a framed photo of a loved one or an ornament you bought whilst travelling. Make it personal.
- Think about proportion: Have a mix of different sized items to create an interesting display. Start with large items such as a lamp, vase or a framed poster then step back to see how it looks. Then move onto medium items such as candles, a small photo frame etc. Keep adding and moving things around – get creative!
2. Make your own coffee station

Calling to all coffee fans! If coffee is your best friend on those really exhausting days, then you NEED a coffee station. And guess what? It’s super simple to do and so worthwhile – trust me. If you’re a tea drinker, just follow these tips and basically do your own version with tea! A coffee station can be placed anywhere in the home. Not just for the kitchen, they work well on a bedside table or even a university bedroom – a great new home gift for your Uni child!
To make the perfect coffee station, you have got to include:
- A coffee machine: Whether a classic filter machine, a fancy pod one or just a kettle! Simply choose by how you like your coffee made.
- A cute coffee sign: Something like “Rowena’s Coffee Station”, or “Brew Me Up Scotty”.
- A stylish mug caddy: These take up less room and mean you’ve more of a chance of getting a clean mug at the last minute!
- Air-sealed jars galore: Find cute glass jars and brim them full of coffee grains, milk sachets, chocolate sprinkles and more. Yummy!
Arrange all these lovely items on a tray (handy for any spillages) and place it anywhere in the home! You could even bring one into work and become your boss’ best friend! It’s such an easy task to do in a day and you won’t believe how envious your friends will be! You could even make a mini hot chocolate station for your little one – I’m sure they will be very inquisitive about your fancy new display!
3. Refresh your headboard
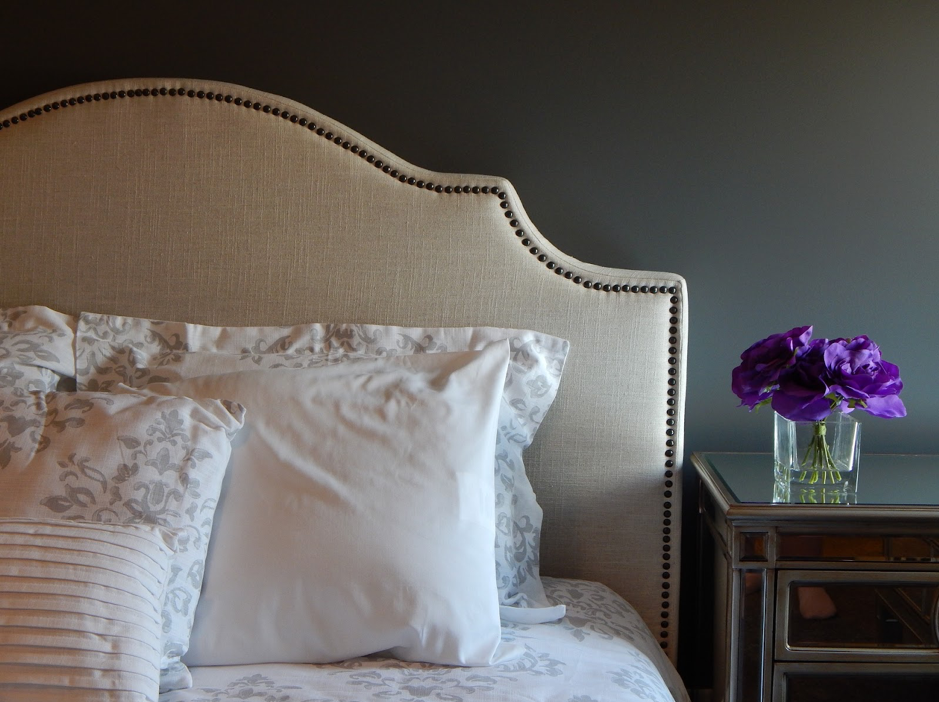
Who else absolutely cherishes their bed? It’s one of those spots where you can get a bit of “you time” – something that is so important when you have a busy schedule.
One way to give your bed a quick makeover is by treating it to a fresh upholstered headboard. Not only will this small step make such a big difference to your bedroom, but making over your old headboard is a great way to live sustainably. Rather than throwing it out and buying a new one, why not simply give your old one a bit of a facelift? And it’s really not as difficult as you’d think.
To upholster your headboard, you need:
- Decorative fabric: Enough to cover the entire board and a bit more to staple onto the back.
- Wadding: This is to add more cushion to the headboard. Have enough to cover the face of the headboard.
- A staple gun: Try to opt for an upholstery one rather than your usual paper display ones.
- A Stanley knife: To cut away the old wadding and fabric
Firstly, remove the old fabric and wadding until you are left with just the wooden board. Place the wadding on top of the headboard and cut around it so that it is the shape of the headboard. Place your decorative fabric on top of the wadding and board. Fold the fabric around like you are wrapping it up like a present. Then staple the fabric onto the back of the board securely. And voilà! You’ve done it! For more of a vintage look, buy studs to hammer around the edging of the board.
4. Create a feature wall!
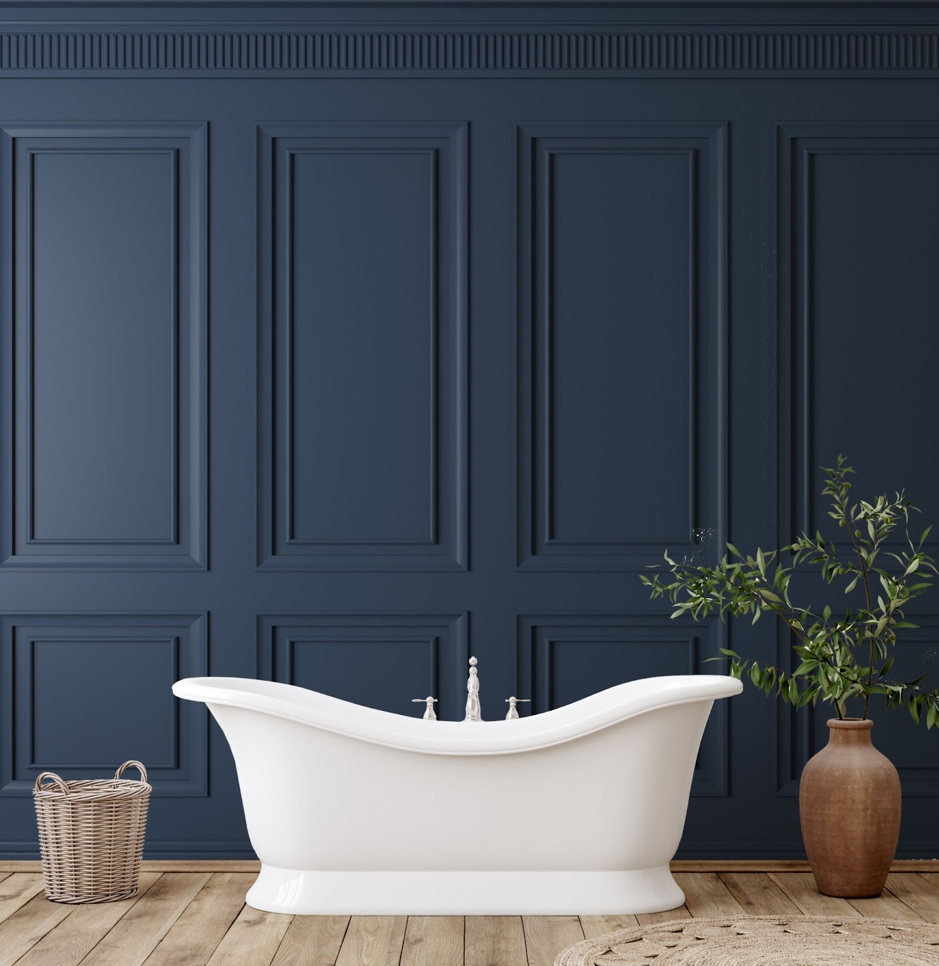
You wouldn’t think it, but creating a stunning feature wall can be done in a day! Painting in this small time scale can be a little bit trickier because you need to take into account the drying time and the second/third coats that are needed. However, a custom-made wallpaper can easily be completed in 24 hours!
All you need to do is find a reputable company that offers a wide range of designs and wallpaper materials. Wallsauce.com are a UK-based company who offer Paste the Wall or Peel and Stick wallpaper. Both are easy to install without the help of a decorator.
Choose a room that is lacking a bit of pizzazz – you know the type. The one you avoid going in because it makes you feel sad. Then choose a wallpaper style that you adore. I am a huge fan of panelling and I am in love with this panel effect wallpaper – so much quicker to achieve than the real thing!
Typically, to install a bespoke wallpaper, you need:
- Someone to help you: A friend to help you hold the wallpaper in place whilst you stick it onto the wall will be super handy. Pay them with a coffee from your fancy coffee station!
- A prepared wall: Make sure you’ve gently sanded down any lumps or bumps on the wall beforehand to achieve a smooth effect when the wallpaper is applied. It’s also a good idea to have painted the wall a few weeks before with a primer. It all depends on the wallpaper provider’s advice!
Patience: Keep going and don’t rush. It will completely transform the room!
5. Plant an indoor kitchen garden
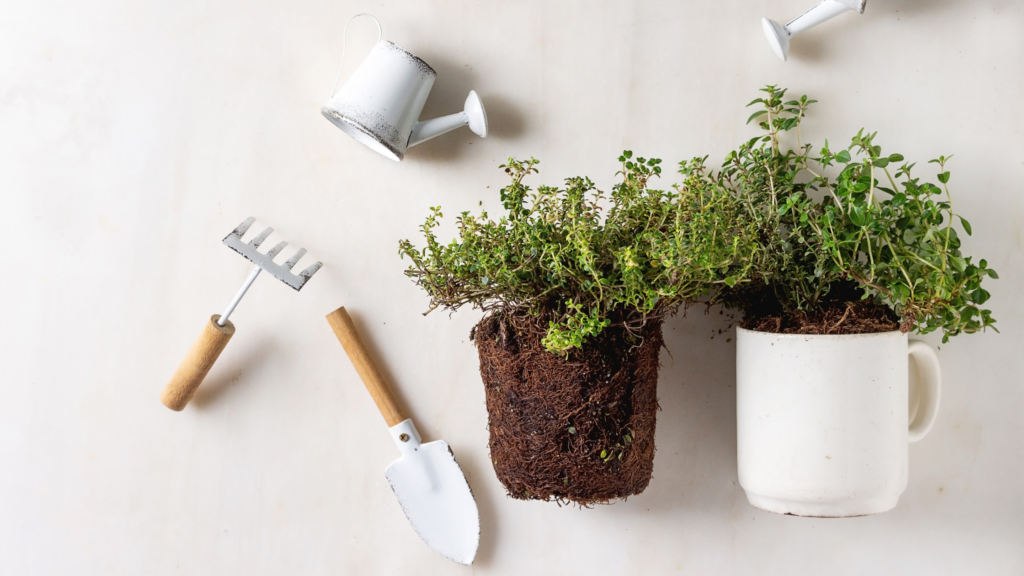
It doesn’t matter if you’re a good cook or green-fingered, an indoor kitchen is great for anyone! Even if you hate cooking, it may encourage you to become more adventurous in the kitchen! And if you are a killer of planets, this could be a good way to start gardening on a small scale! Perfect for arranging on a window sill or in a spare corner of your kitchen, a mini herb garden will look beautiful and bring yummy herby scents into the room.
For a kitchen herb garden you need:
- Plant pots: Whether repurposing old ones or buying from new, an assortment of terracotta, ceramic or tinned plant pots will add a rustic and charming look in your kitchen.
- Herby friends: Choose a selection of the most delicious smelling herbs that thrive indoors – basil, rosemary, chives, oregano, thyme, mint… Whatever you think will encourage you to cook or add in a gin cocktail!
- Soil, plant feeder and bug spray: As well as careful watering, these are the must-haves for your little green friends. Always buy a bug spray that is for home grown food.
I’d love to know if you try out any of these quick DIY hacks! Or do you have some even better ideas? Just leave a message below!